Your Guide to Banishing the Green and Reclaiming Your Blue: A Sydney Pool Owner's Resource
Look, let's be honest, a green pool is a pain in the backside. It's unsightly, it's uninviting, and it screams neglect – even if you are on top of your pool care (sometimes these things just happen!). But fear not, Eastern Suburbs pool aficionados! Turning that murky green back to sparkling blue is absolutely achievable. This guide will walk you through the process, tailored to the common challenges we face in our beautiful, yet sometimes demanding, coastal environment.
Why is My Pool Green? Understanding the Enemy: Algae
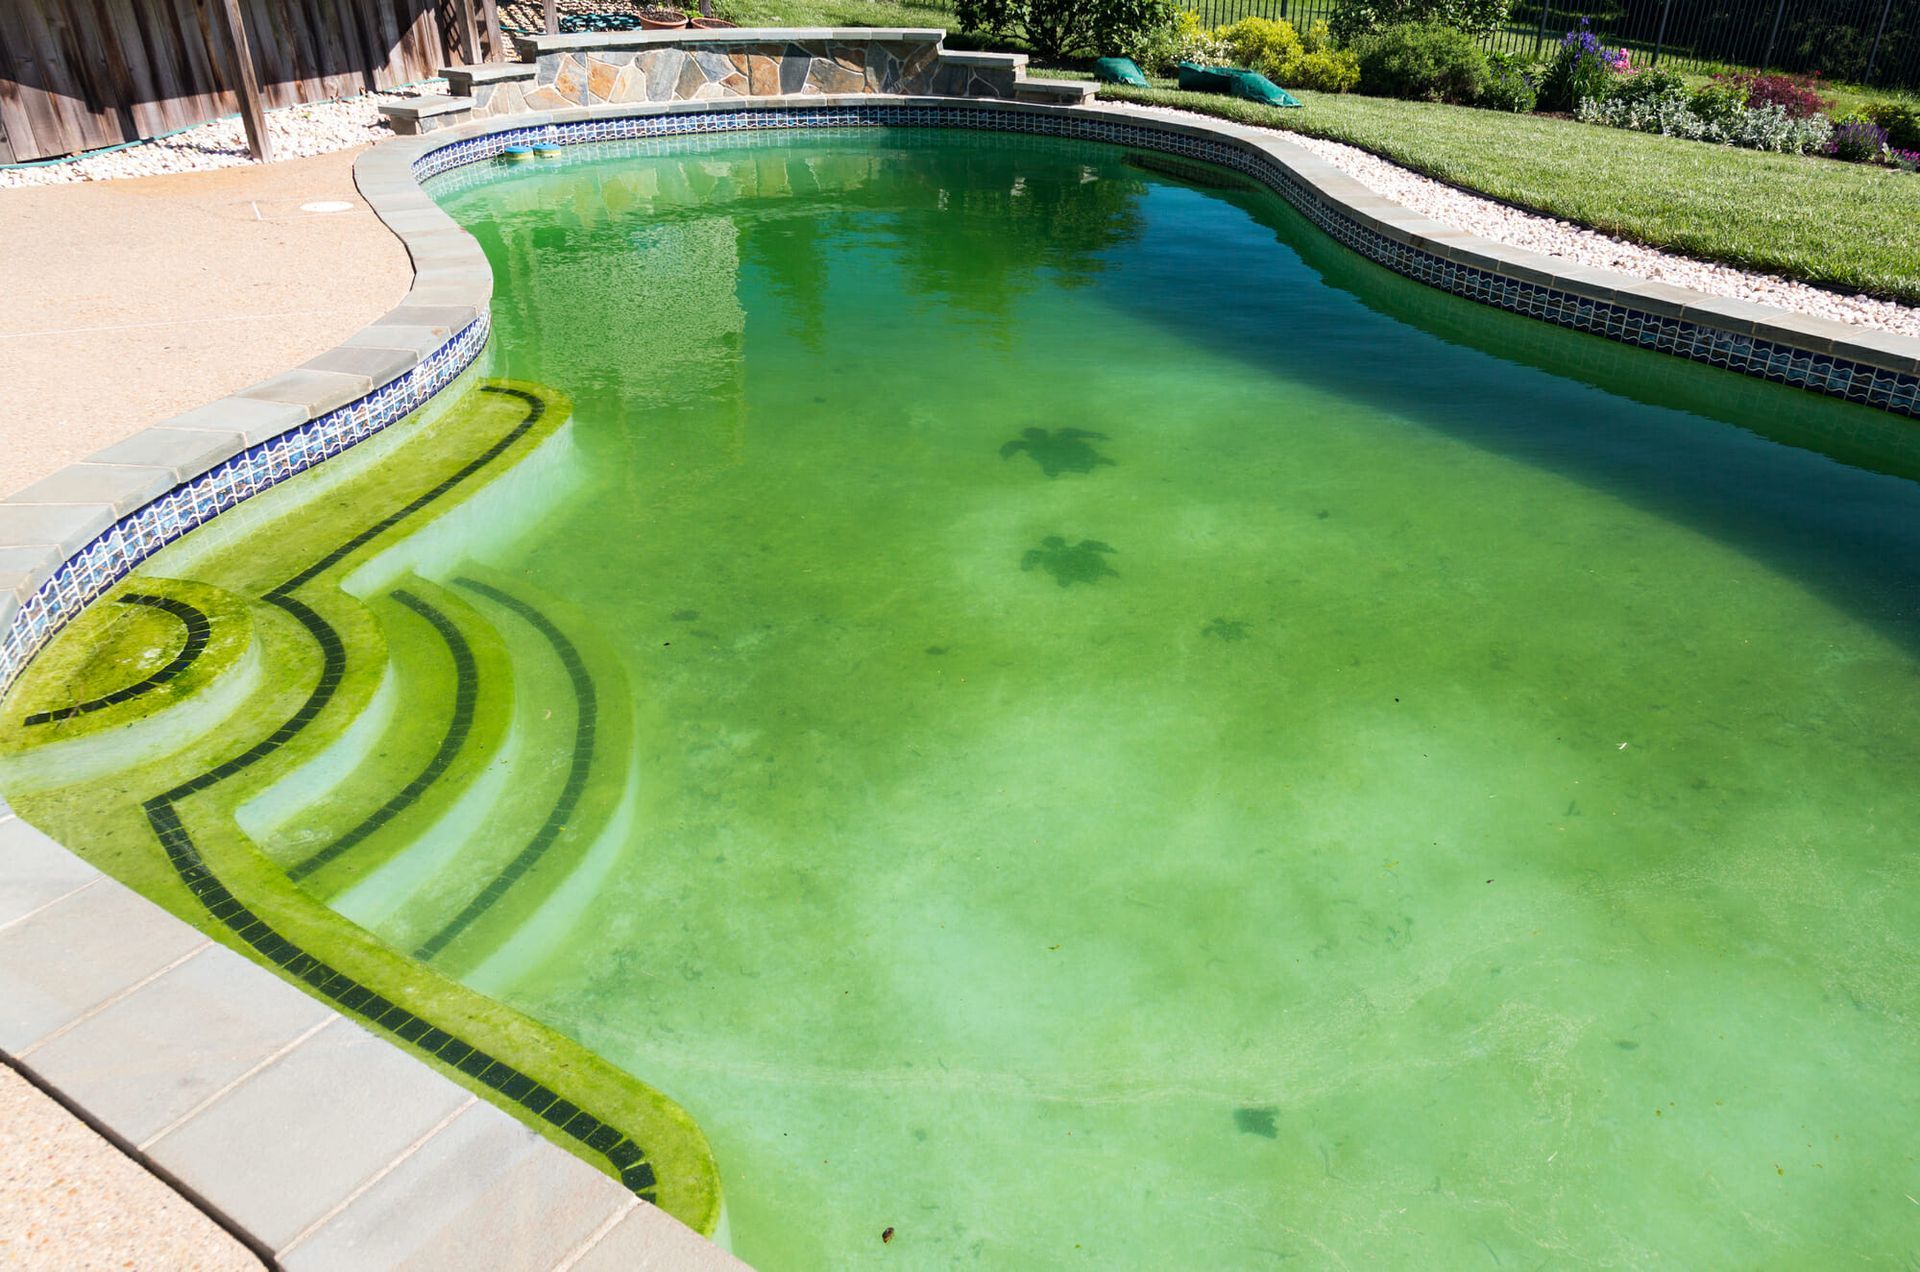
Before we grab the pool skimmer and start throwing in chemicals, let's understand why your pool has decided to go green. The culprit? Algae.
Algae are microscopic plant-like organisms that thrive in water, especially when conditions are just right (or rather, just wrong for your pool!). Here’s what they love in a pool environment, and what’s likely contributing to your green situation:
Lack of Sanitiser (Chlorine or Saltwater System Issues): Your sanitiser is your pool’s primary defence against algae. When chlorine levels drop too low, or your saltwater chlorinator isn't producing enough, algae can take hold and multiply rapidly. Think of it like leaving the front door open to unwelcome guests!
Imbalanced Pool Chemistry: Pool chemistry is a delicate balancing act. Key factors include:
pH Levels: If your pH is too high or too low, it can reduce the effectiveness of your sanitiser, making your pool vulnerable to algae.
Alkalinity: Alkalinity helps keep pH stable. If it's out of whack, pH swings become more likely, hindering sanitiser action.
Cyanuric Acid (Stabiliser): In outdoor pools like ours in Sydney, stabiliser protects chlorine from being burnt off too quickly by the harsh Aussie sun. Too little, and your chlorine disappears fast. Too much, and it can actually reduce chlorine effectiveness (though this is less common with green pools, more a long-term issue).
Poor Circulation & Filtration: Your pool pump and filter are crucial for circulating water, distributing chemicals evenly, and removing debris that algae can feed on. If your pump isn’t running long enough, or your filter is clogged or inefficient, algae have a better chance of establishing themselves.
Nutrients in the Water: Algae need food to grow. Think of things that introduce nutrients to your pool:
Rainfall: Rainwater can bring in nitrates and phosphates, algae food sources. Sydney storms, we’re looking at you!
Runoff from Gardens: Fertilisers from gardens surrounding your pool can wash in, especially after heavy rain. Eastern Suburbs gardens are lush, which is lovely, but also a potential nutrient source.
Debris: Leaves, dirt, pollen, and even sunscreen and body oils all contribute organic matter that algae can utilise. Think about those gorgeous jacarandas dropping flowers in spring!
Warm Water & Sunlight: Sydney's climate – sunshine and warm water – is algae's dream environment! The warmer the water, the faster algae will grow, especially when combined with ample sunlight.

Safety First! Before You Begin
Dealing with pool chemicals requires respect and caution. Before you even dip a toe in your green pool cleaning project, remember these vital safety points:
Personal Protective Equipment (PPE): Always wear gloves (rubber or nitrile) and eye protection (safety glasses or goggles) when handling pool chemicals. These are irritants and can cause burns or eye damage.
Ventilation: Work in a well-ventilated area, especially when dealing with concentrated chemicals. Outdoors is ideal.
Read Labels Carefully: Always, always, always read the instructions and warnings on every chemical product label before use. Follow the manufacturer's guidelines precisely for dosage and application.
Never Mix Chemicals Directly: This is a golden rule! Never mix different pool chemicals together directly. This can create dangerous reactions, fumes, or even explosions. Always add chemicals to the pool water separately, following the recommended order and dilution.
Keep Chemicals Out of Reach of Children and Pets: Store all pool chemicals securely, in their original containers, and out of reach of children and pets.
If in Doubt, Call a Professional: If you feel overwhelmed, unsure, or uncomfortable dealing with pool chemicals, don’t hesitate to call a qualified pool service technician in the Eastern Suburbs. They can diagnose the issue and safely treat your pool. It’s better to be safe than sorry!
The Step-by-Step Guide to Cleaning Your Green Pool – Aussie Style!
Right, safety briefing done. Let’s get down to business and wrestle that green pool back to sparkling blue! Here's your step-by-step plan:
Step 1: Assess the Situation and Test Your Water
Before you start chucking in chemicals willy-nilly, we need to understand the extent of the problem and get a baseline for your pool water chemistry.
Visual Assessment: How green is it? Is it a light green tinge, or can you barely see the bottom? This will give you an idea of the severity of the algae bloom. Heavily green pools will require more aggressive shocking.
Remove Large Debris: Use your pool skimmer net to remove any large debris like leaves, twigs, bugs, and anything else floating on the surface. This will make the next steps more effective.
Test Your Water Chemistry: This is absolutely
crucial. You need to know your current pH, alkalinity, chlorine (or sanitiser) levels, and ideally, calcium hardness and stabiliser (cyanuric acid). You can use:
Liquid Test Kit: Considered the most accurate, but can be a bit fiddly to learn.
Test Strips: Quick and easy, but can be less precise than liquid kits. Get a good quality brand for better results.
Take a Water Sample to Your Local Pool Shop: Most pool shops in the Eastern Suburbs (think around Bondi Junction, Double Bay, Randwick etc.) offer free or inexpensive water testing. They can provide detailed results and advice tailored to your specific situation. This is often a great option if you’re unsure or want expert guidance.
Record your test results! You'll need these to know how much chemical to add in the following steps. Pay particular attention to:
Chlorine/Sanitiser: Likely to be very low or zero in a green pool.
pH: Aim for the ideal range of 7.2 - 7.6.
Alkalinity: Aim for 80-120 ppm (parts per million).
Step 2: Shock the Pool – Time to Hit the Algae Hard!
"Shocking" the pool means adding a high dose of chlorine (or non-chlorine shock for specific situations) to kill the algae. This is the most important step in turning a green pool blue.
Choose Your Shock:
Granular Chlorine Shock (Calcium Hypochlorite – "Cal Hypo"): This is the most common and effective type of shock for green pools. It delivers a strong dose of chlorine quickly. It can slightly raise calcium hardness, so keep that in mind if your calcium levels are already high (though in green pool situations, getting rid of algae is the priority).
Liquid Chlorine (Sodium Hypochlorite): Also effective, dissolves quickly, and won’t affect calcium hardness. Can be slightly more expensive than granular.
Non-Chlorine Shock (Potassium Monopersulfate – "MPS"): Primarily used for oxidising organic matter and boosting chlorine effectiveness. Not typically strong enough on its own to kill a severe algae bloom. Can be used in conjunction with chlorine shock or for maintenance shocking.
For a green pool, granular chlorine shock (Cal Hypo) or liquid chlorine is generally the best bet.
Calculate the Shock Dose: This is crucial! You need to add enough shock to reach "breakpoint chlorination" – the point where there’s enough chlorine to not only kill the algae but also oxidise other organic matter.
A common starting point for a green pool is to triple or even quadruple your normal weekly shock dose.
Always refer to the shock product label for dosage instructions. They will usually give you a dosage based on gallons or litres of pool water and the severity of the algae.
As a general guideline, for a heavily green pool, you might need to aim for a chlorine level of around 10-15 ppm initially. This will require significantly more shock than your regular maintenance dose.
Use a Pool Volume Calculator: If you don’t know your pool volume, use an online pool volume calculator (easily found with a quick search) or ask your pool shop to help you estimate it.
Shock at Dusk or Night: Chlorine is broken down by sunlight. Adding shock in the evening or at night allows it to work more effectively overnight, without being rapidly degraded by the Sydney sun.
Pre-Dissolve Granular Shock (If Using): Fill a clean, plastic bucket with pool water.
Slowly add the granular shock to the water, stirring with a clean stick or plastic rod until dissolved.
Never add water to the shock – always add shock to water. Pour the dissolved shock evenly around the pool perimeter.
Never add undissolved granular shock directly to your pool surface, especially vinyl liners, as it can bleach or damage them.
Add Liquid Chlorine Directly: Liquid chlorine can be poured directly into the pool, distributing it evenly around the perimeter.
Turn on Your Pool Pump and Filter: Circulation is essential! Run your pool pump continuously for at least 24 hours, and ideally 48 hours after shocking, to ensure the shock is distributed throughout the pool and the filter is working to remove the dead algae.
Step 3: Brush, Brush, Brush!
Shocking kills the algae, but it doesn’t remove it from the pool surfaces. Brushing is vital to dislodge dead algae from the pool walls, floor, steps, and any crevices so your filter can remove it.
Use a Sturdy Pool Brush: Choose a brush appropriate for your pool surface (stainless steel for concrete or pebblecrete, nylon for vinyl or fibreglass to avoid scratching).
Brush Thoroughly: Brush the entire pool surface – walls, floor, steps, around fittings, and in corners. Be vigorous! You want to loosen as much dead algae as possible.
Brush Daily for Several Days: Even after the initial shocking and brushing, continue to brush your pool daily for the next few days as the dead algae settles and your filter works to remove it.
Step 4: Run Your Filter and Backwash/Clean as Needed
Your pool filter is now your best friend! It’s going to remove all the dead algae and debris.
Run Your Pump Continuously: As mentioned earlier, keep your pool pump running 24/7 until the water clears up.
Backwash or Clean Your Filter Frequently: Your filter will get clogged up quickly with dead algae.
Sand Filter: Backwash your sand filter regularly, as soon as the pressure gauge rises 8-10 PSI above its normal clean reading. This will likely be needed several times a day initially.
Cartridge Filter: Clean your cartridge filter elements frequently. Remove the cartridges, hose them down thoroughly to remove debris, and then replace them. You might need to clean them multiple times during the green pool cleanup process. It's often a good idea to have a spare set of cartridges on hand so you can clean one set while using the other.
DE Filter: Backwash your DE filter and consider "bumping" or even fully cleaning the grids more frequently than usual. You may also need to add more DE powder after backwashing.
Step 5: Vacuum the Pool – Get Rid of the Settled Debris
After shocking, brushing, and filtering, you’ll likely have a lot of dead algae and debris settled at the bottom of your pool. Vacuuming is essential to remove this.
Manual Vacuuming to Waste (Preferred for Green Pools): For a heavily green pool, vacuuming to waste is often the best approach. This means bypassing the filter and sending the vacuumed water and debris directly out of the pool (usually via the backwash line). This prevents overloading your filter with algae and debris. You will lose pool water when vacuuming to waste, so be prepared to top up afterwards. Consult your pool equipment manual for instructions on how to vacuum to waste with your specific system.
Automatic Pool Cleaner: If your green pool is less severe, or once you’ve done a manual vacuum to waste for the bulk of the debris, an automatic pool cleaner can help maintain the cleanup and remove finer particles. Ensure your cleaner is suited for debris pickup and not just surface skimming.
Step 6: Re-Test and Re-Balance Your Water Chemistry
Once your pool water starts to look clearer (it might go through stages of murky green to cloudy blue before becoming truly clear), it’s time to re-test your water chemistry.
Test Again: Test your pH, alkalinity, and chlorine levels again.
Adjust Chemistry as Needed:
pH: Adjust pH to the ideal range of 7.2-7.6 using pH increaser (sodium carbonate) or pH decreaser (sodium bisulphate) as needed.
Alkalinity: Adjust alkalinity to the range of 80-120 ppm using alkalinity increaser (sodium bicarbonate) if needed.
Chlorine: After the shock, your chlorine levels will be very high. Allow the chlorine level to come down to a safe swimming level (1-3 ppm for chlorinated pools, follow manufacturer's guidelines for saltwater pools) naturally through sunlight and evaporation before swimming. You can also use a chlorine neutraliser (sodium thiosulphate) to speed up the reduction of chlorine if you need to swim sooner, but natural dissipation is usually preferable.
Consider Algaecide (Optional but Recommended): Once your water is balanced and clear, adding a preventative algaecide can help inhibit future algae growth and provide an extra layer of protection, especially after a severe bloom. Follow the algaecide product instructions carefully for dosage. Choose a good quality algaecide and consider a polyquat algaecide, which is generally effective and less likely to cause foaming.
Step 7: Super Chlorinate (Boost Chlorine) Regularly and Maintain Proper Chemistry Going Forward – Prevention is Key!
Congratulations! You’ve (hopefully!) conquered the green pool. But the battle isn’t truly won until you prevent it from returning.
Regular Super Chlorination/Shocking: Shock your pool weekly, especially during hot weather or after heavy rain, to maintain good sanitation and prevent algae from getting a foothold. Follow your pool shock product's instructions for weekly maintenance shocking doses.
Consistent Water Testing and Balancing: Test your pool water at least twice a week, and ideally 3-4 times a week during peak swimming season. Adjust chemicals as needed to maintain proper pH, alkalinity, and sanitiser levels. Don’t let your chlorine levels drop too low!
Maintain Proper Filtration and Circulation: Run your pool pump for at least 8-12 hours per day, and ensure your filter is clean and functioning effectively. Regular backwashing or cartridge cleaning is vital.
Regular Skimming and Brushing: Skim the surface of your pool regularly to remove leaves, debris, and insects. Brush your pool walls and floor at least weekly.
Consider Phosphate Remover (Especially if Recurring Green Pools): If you consistently struggle with green pools, even with good maintenance, consider testing your pool water for phosphates. High phosphate levels can fuel algae growth. If phosphates are high, use a phosphate remover product to reduce them.
Eastern Suburbs Specific Tips for Green Pool Prevention:
Coastal Air & Salty Environments: Salt air can contribute to corrosion and potentially affect pool chemistry. Regularly inspect your pool equipment for signs of corrosion and maintain proper water balance to mitigate these effects.
Lush Gardens & Native Flora: While beautiful, the lush gardens common in the Eastern Suburbs can be a source of organic debris and nutrients entering your pool. Trim back overhanging vegetation, consider pool fencing to reduce leaf fall, and regularly skim and vacuum.
Sydney Rain & Runoff: Be extra vigilant after heavy Sydney downpours. Rainwater can drastically change pool chemistry and introduce nutrients. Test and adjust your water chemistry after significant rainfall.
Sunscreen & Body Oils: With our beach-loving lifestyle, sunscreen and body oils are a common pool contaminant. Encourage swimmers to shower before entering the pool and consider using enzyme-based pool products to help break down organic contaminants.
Local Pool Shops are Your Friends! Take advantage of the expertise at your local Eastern Suburbs pool shops. They are familiar with local water conditions and can provide tailored advice and products. They can also test your water and offer solutions specific to your situation.


